Removing pitting can be a real pain, especially if it’s deep. A disc sander or belt sander, if careful, would be ideal for removing pitting but if you don’t have access to one of them, there is another way.
Lapping using long strips of coarse sandpaper on a flat surface will rapidly remove metal. Float glass would work best as the sandpaper can be stuck to it, reducing the amount of dubbing to the edges but any flat surface like a flat piece of plywood will also work.
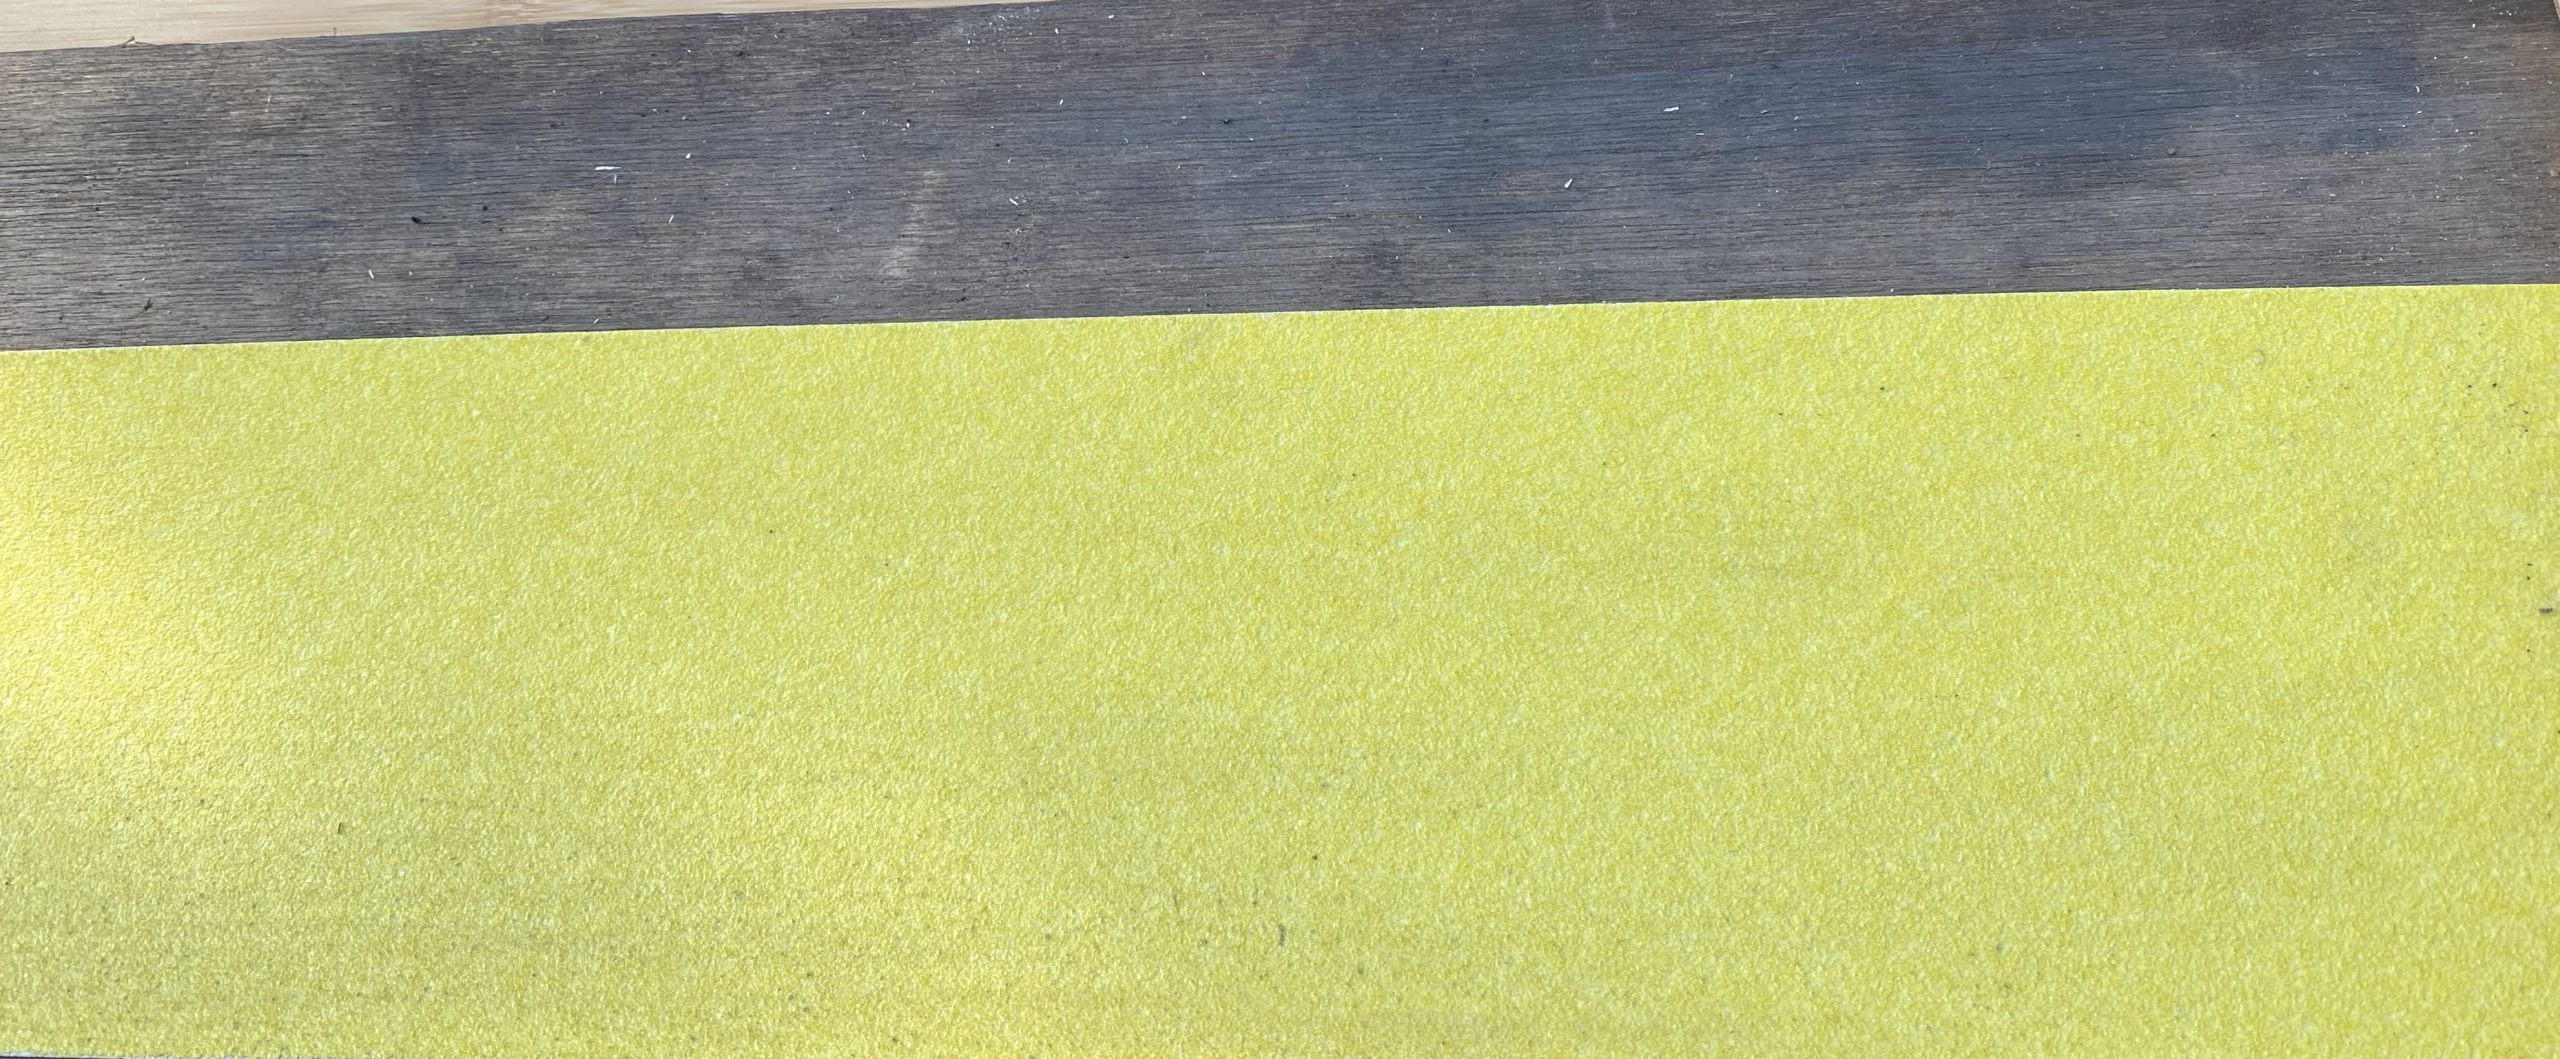
The sandpaper will rapidly become covered in metal.
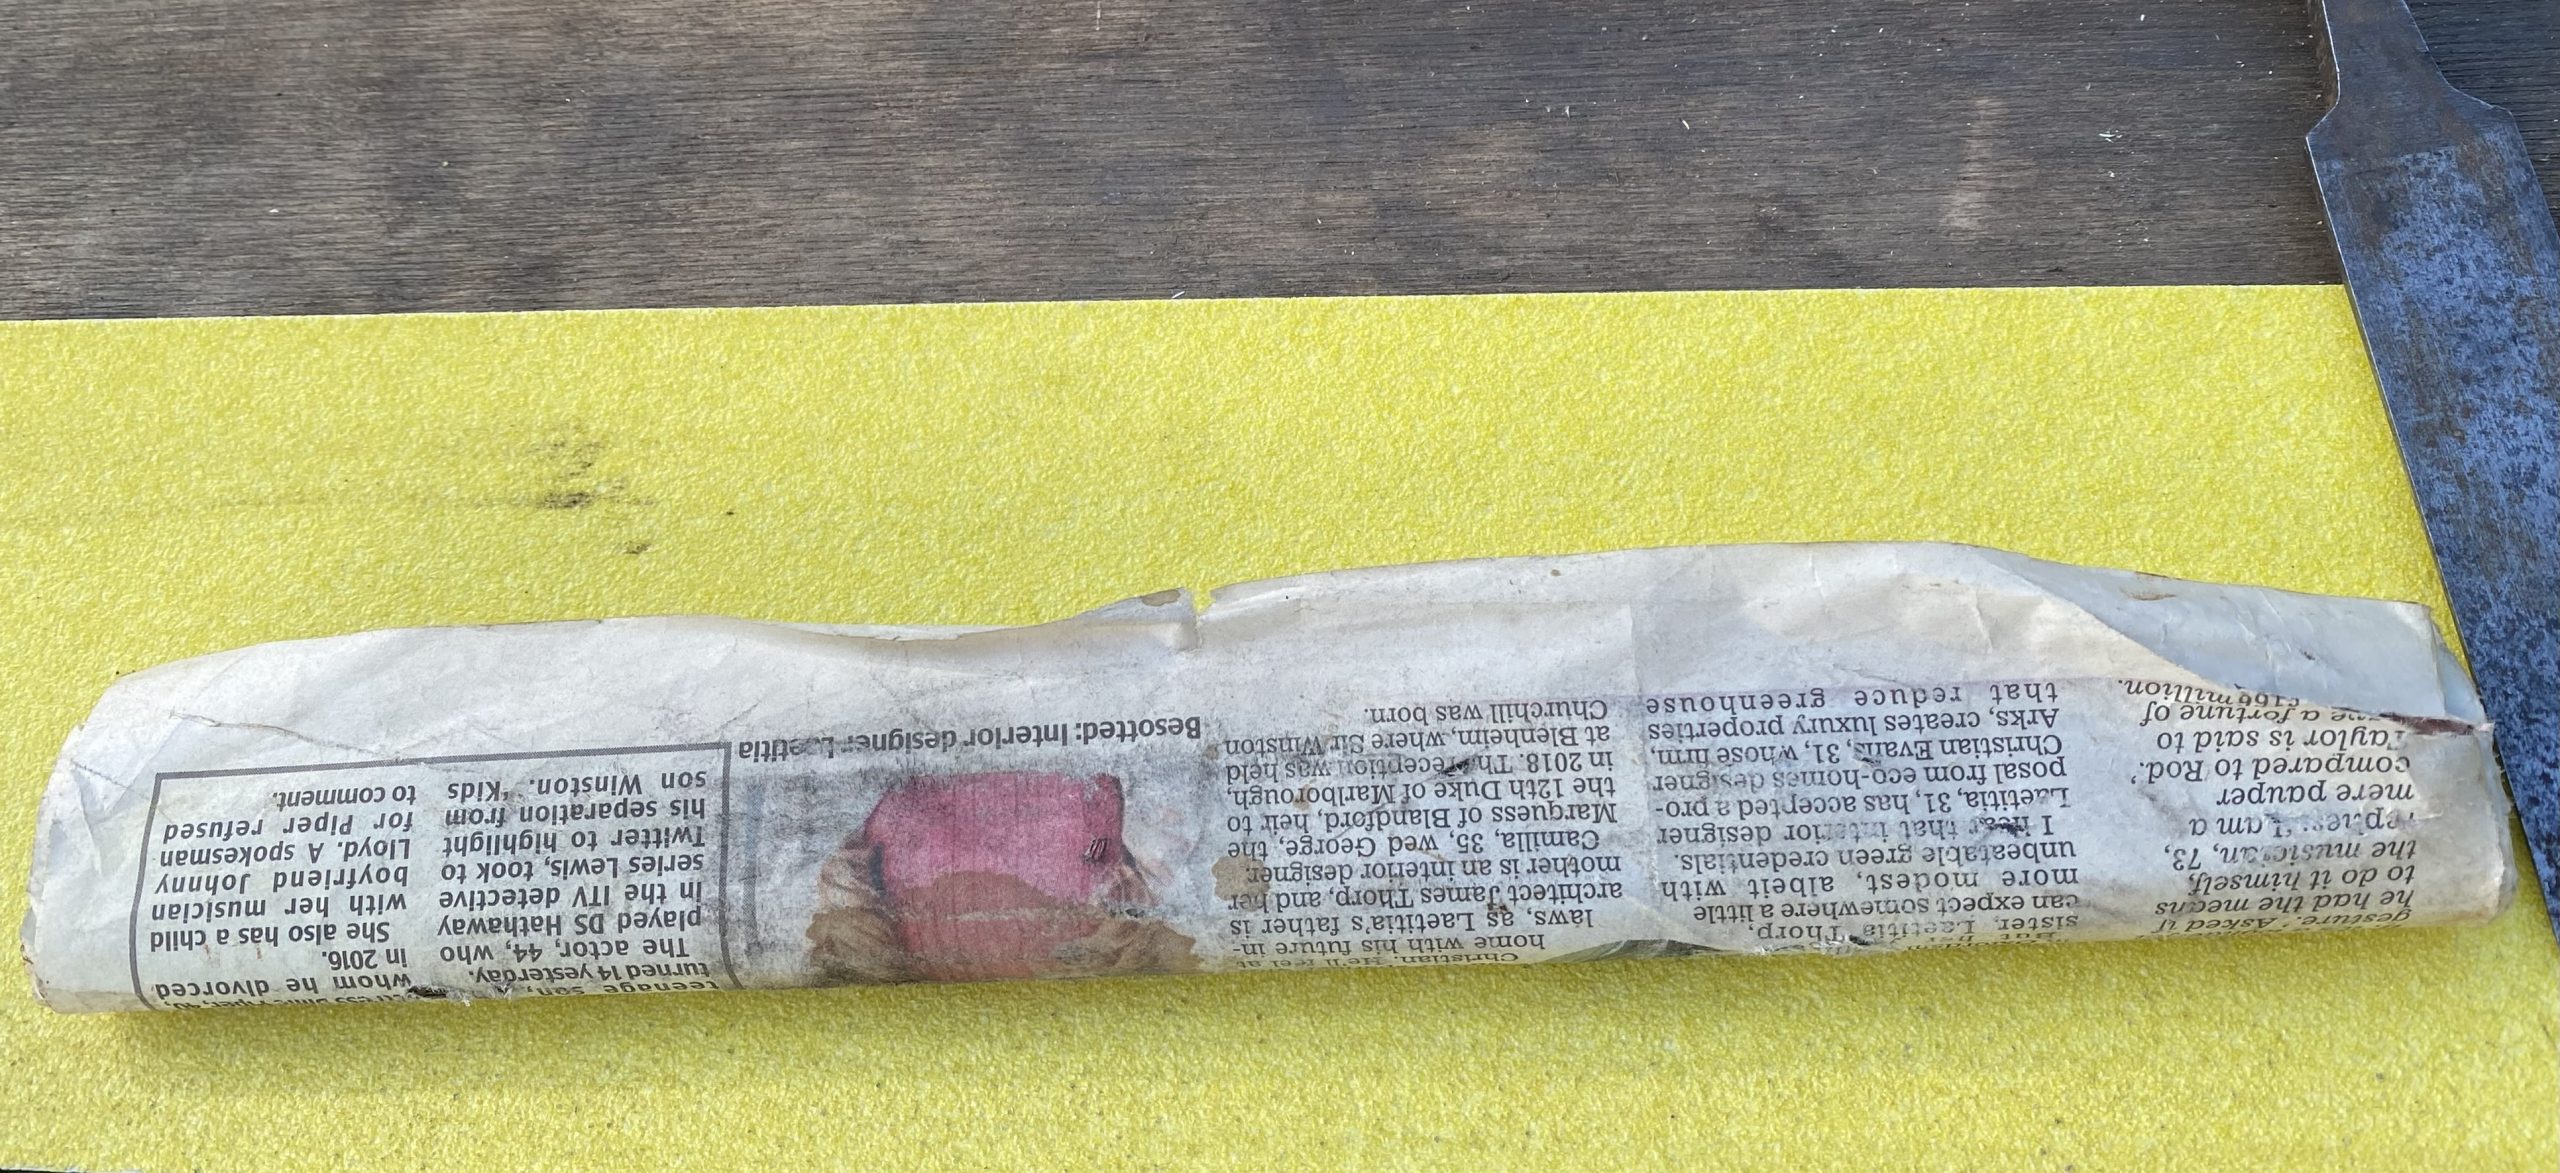
The easiest way to keep the sandpaper clean is to run a magnet wrapped in paper over the surface. The paper is important otherwise getting the magnet clean afterwards will be a pain. I use a small magnetic tool holder strip for this.
Simply lap the item applying reasonable pressure.
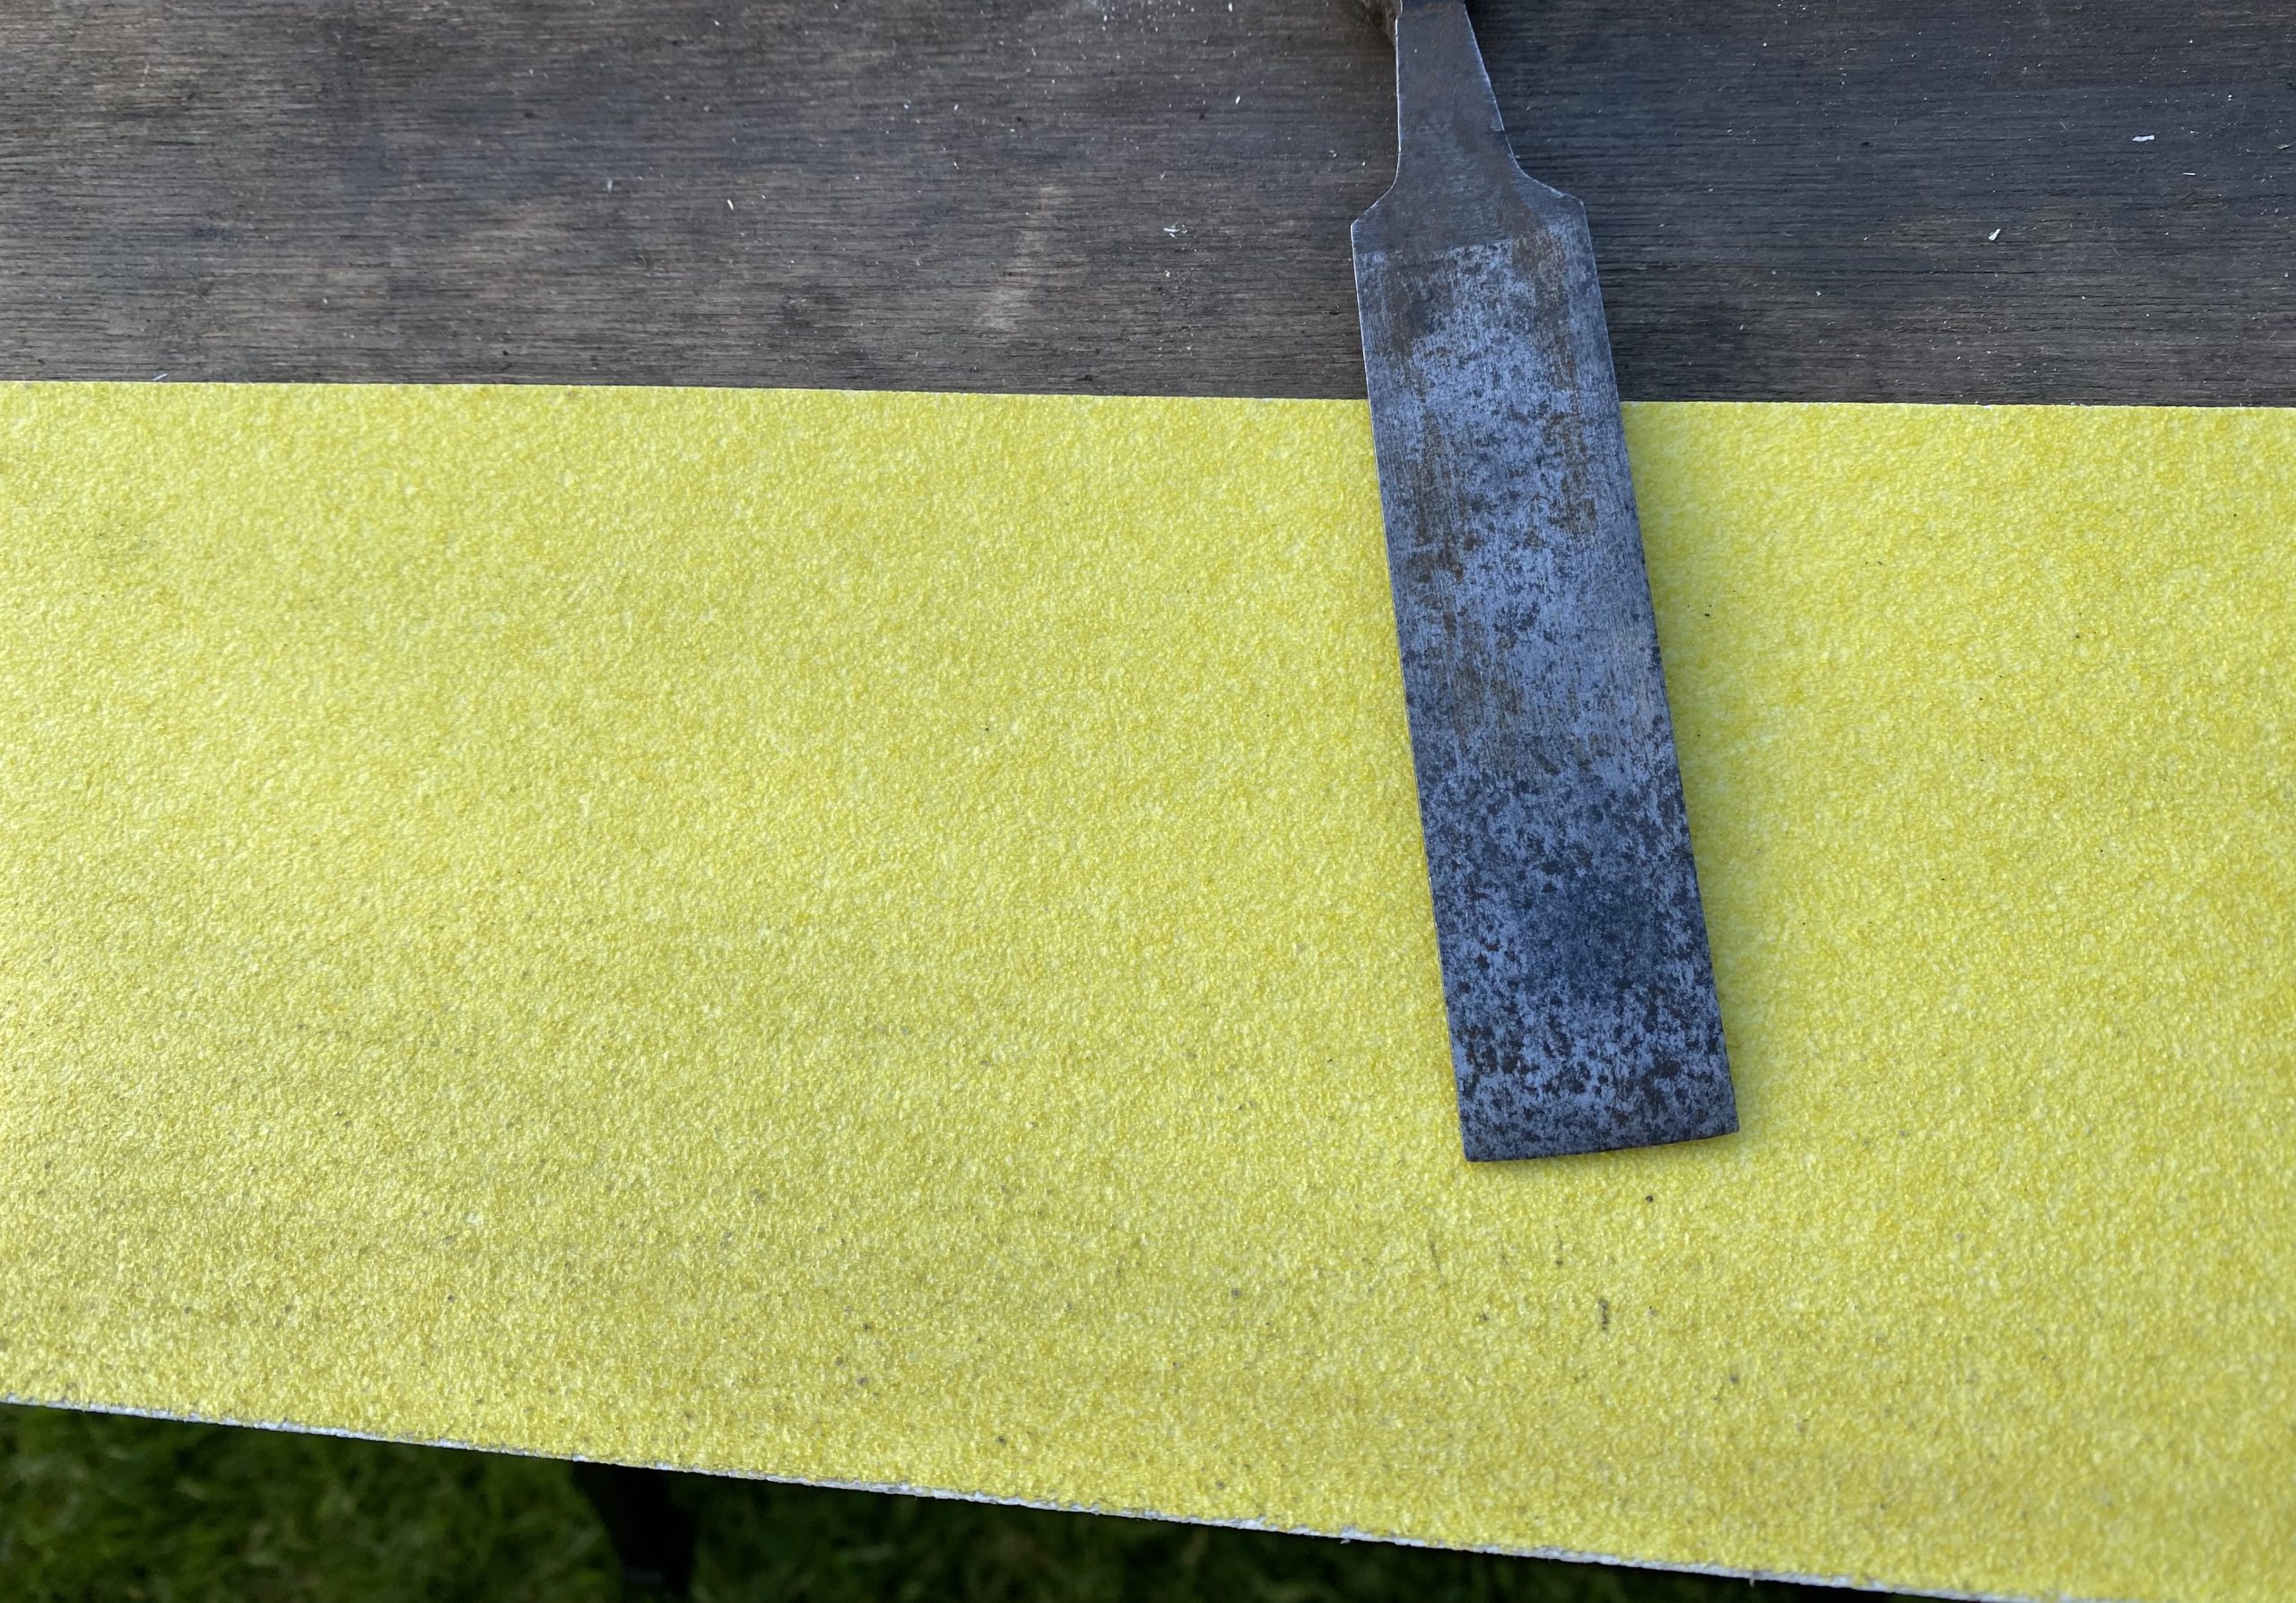
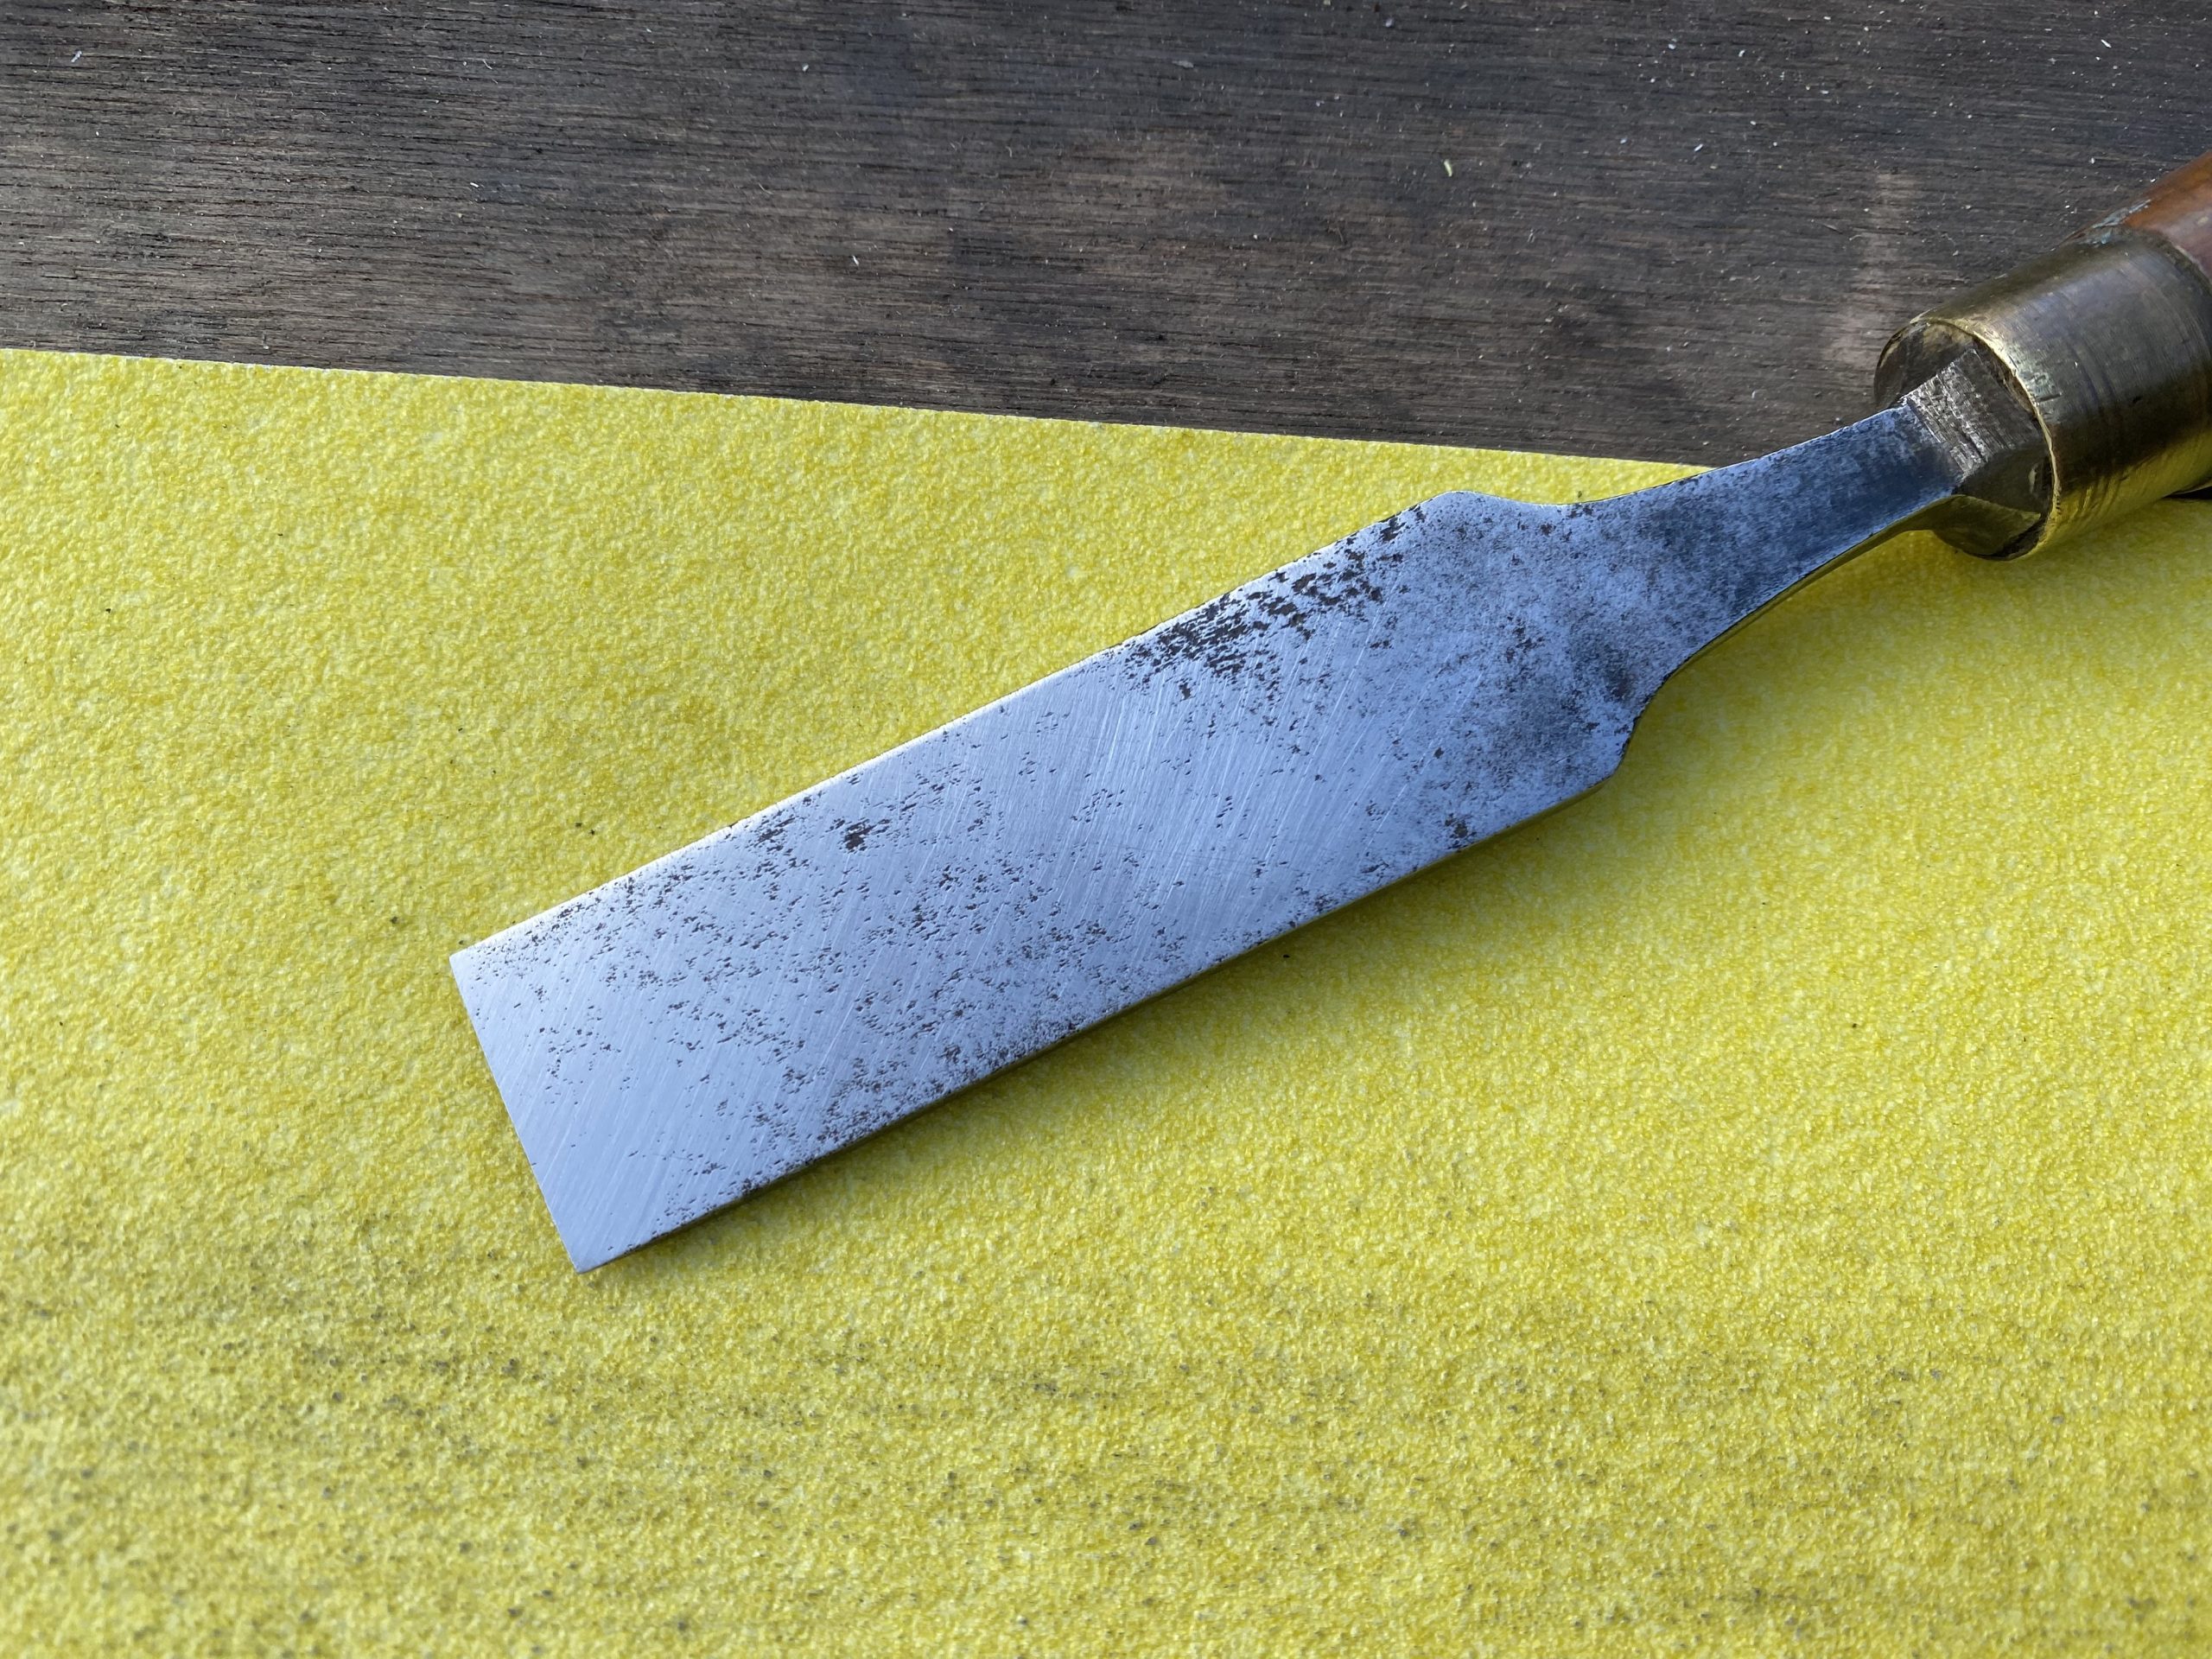
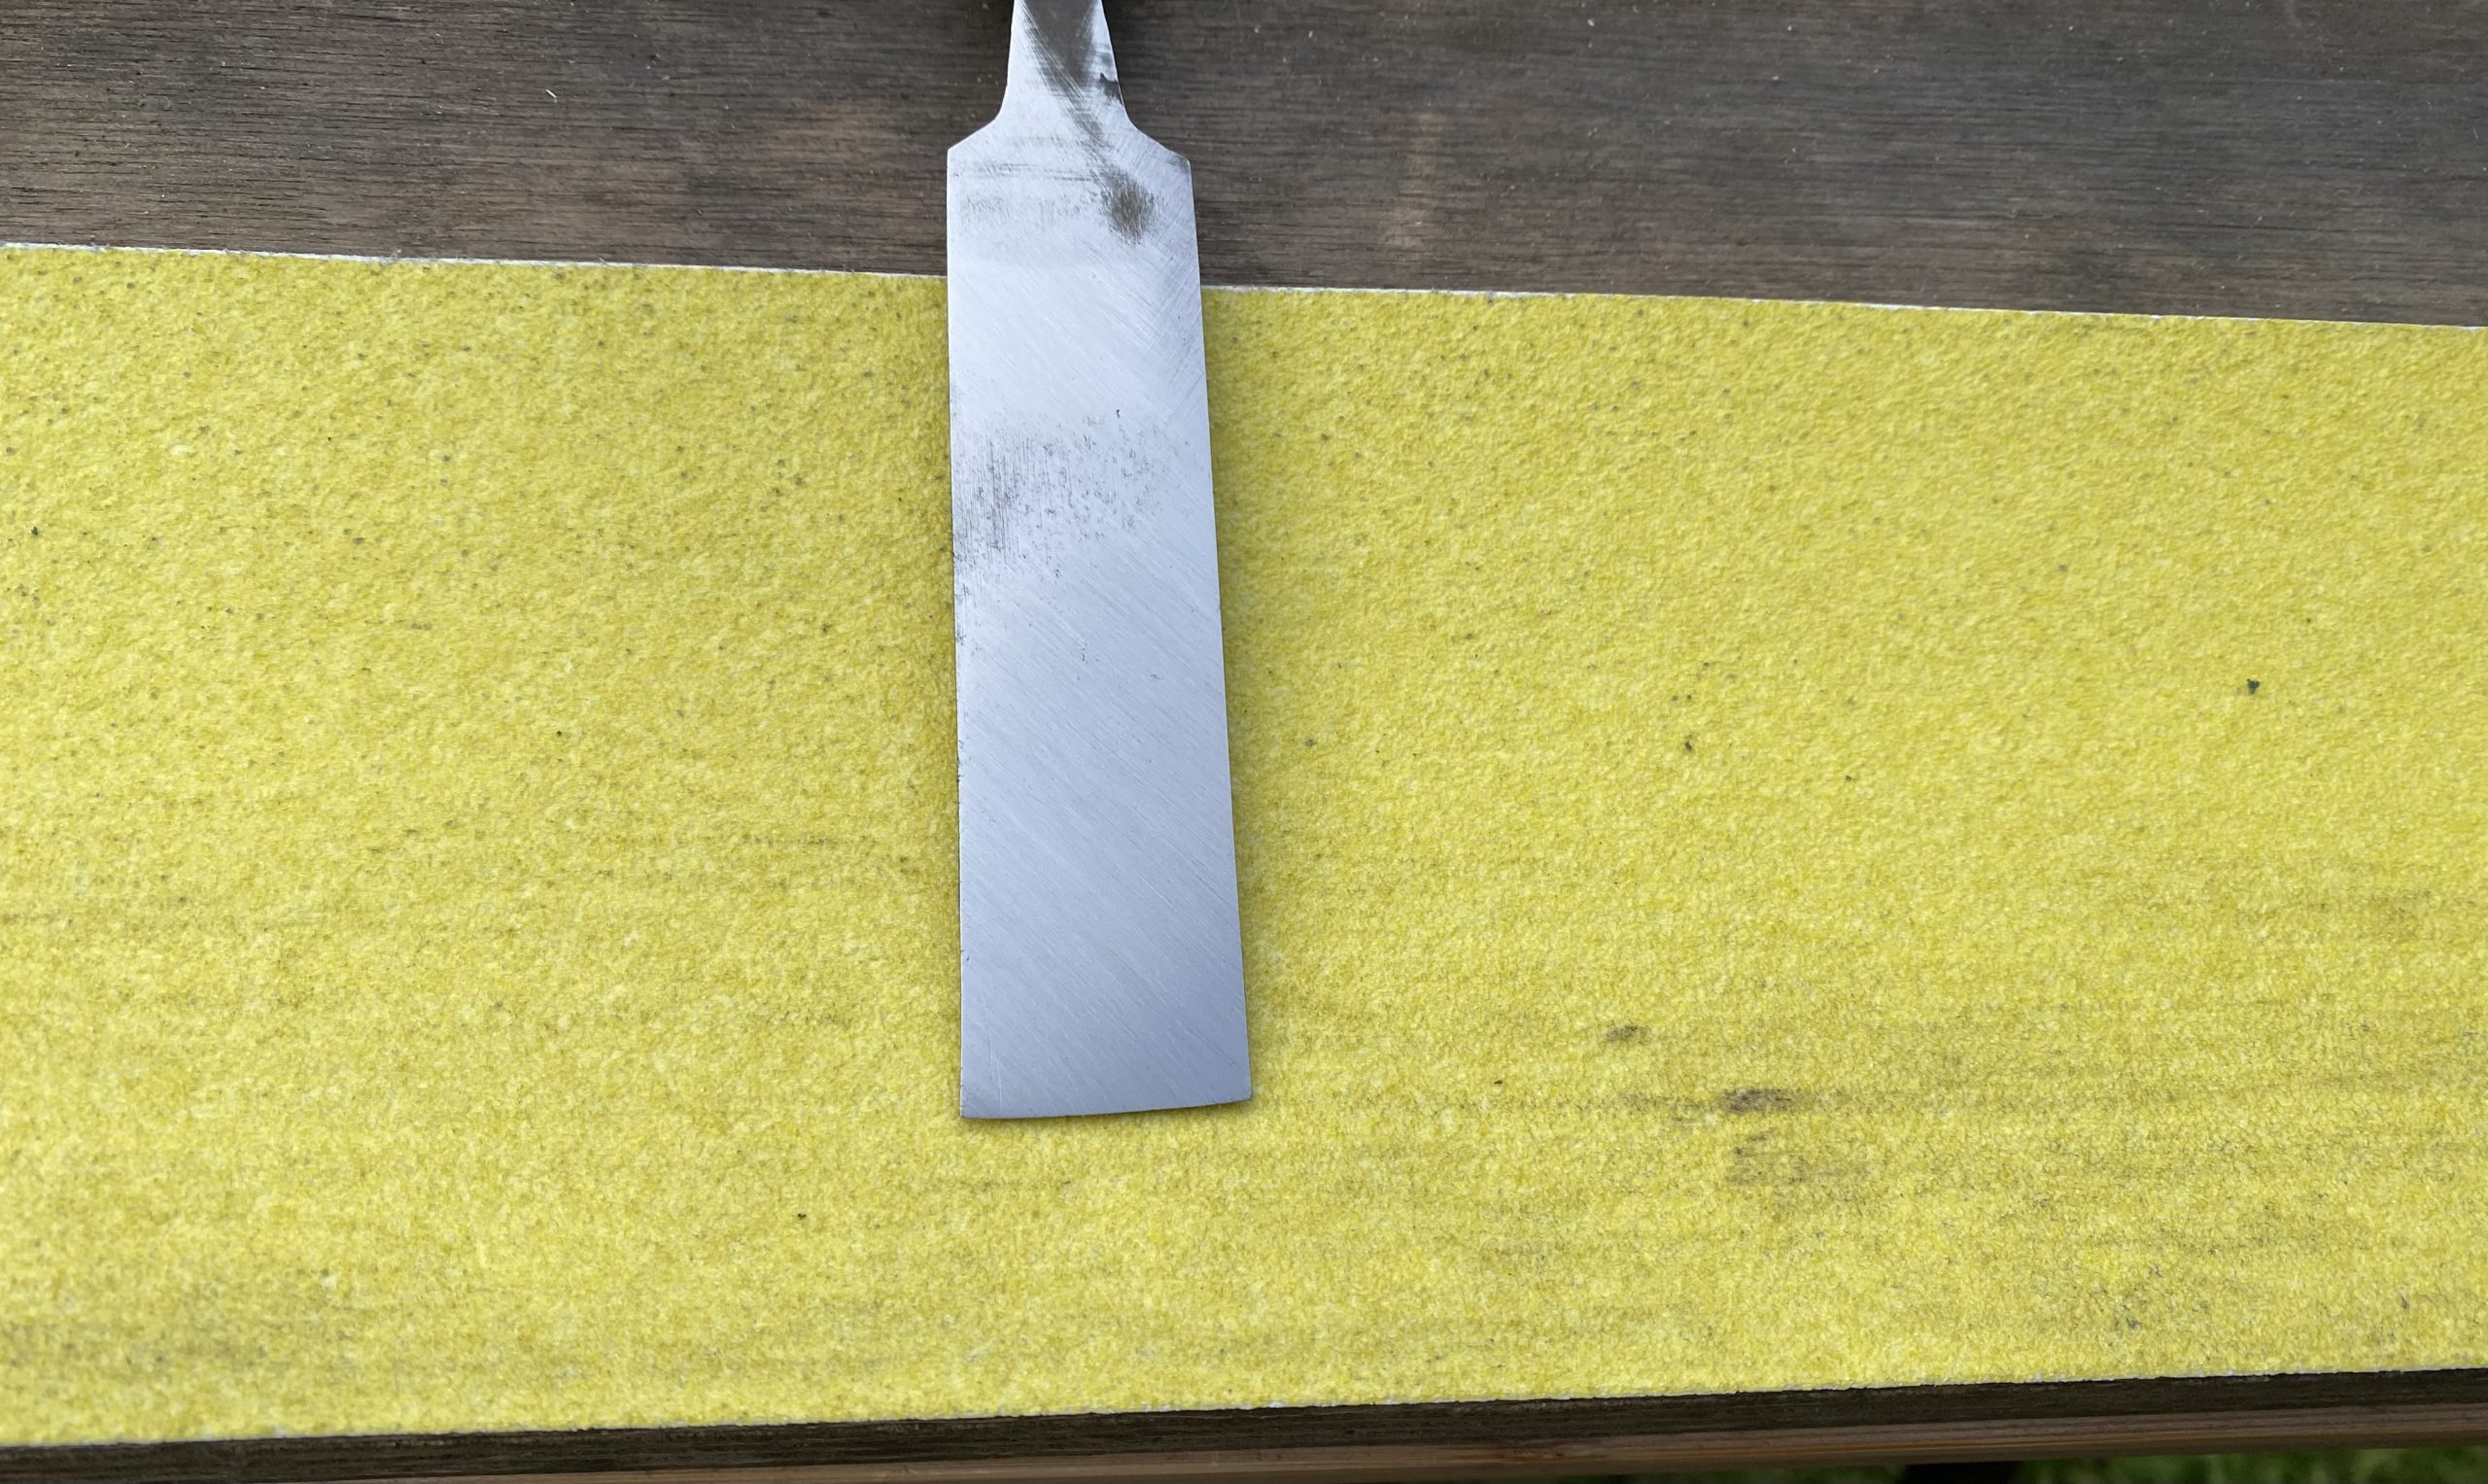
The above chisel took a few minutes.
Coarse sandpaper, especially if not stuck down, will dub the edges a little. Going up the grits will help but even going straight to a coarse stone shouldn’t take too long to fix.
Lapping can also generate quite a bit of heat, so you may need to take breaks or dunk the tool in water.
Be careful if a chisel or plane iron is laminated. The lamination is often not very thick and can be ground away, making removing deep pitting impossible without destroying the tool. If that is the case the chisel or plane iron can still be used for rough work.
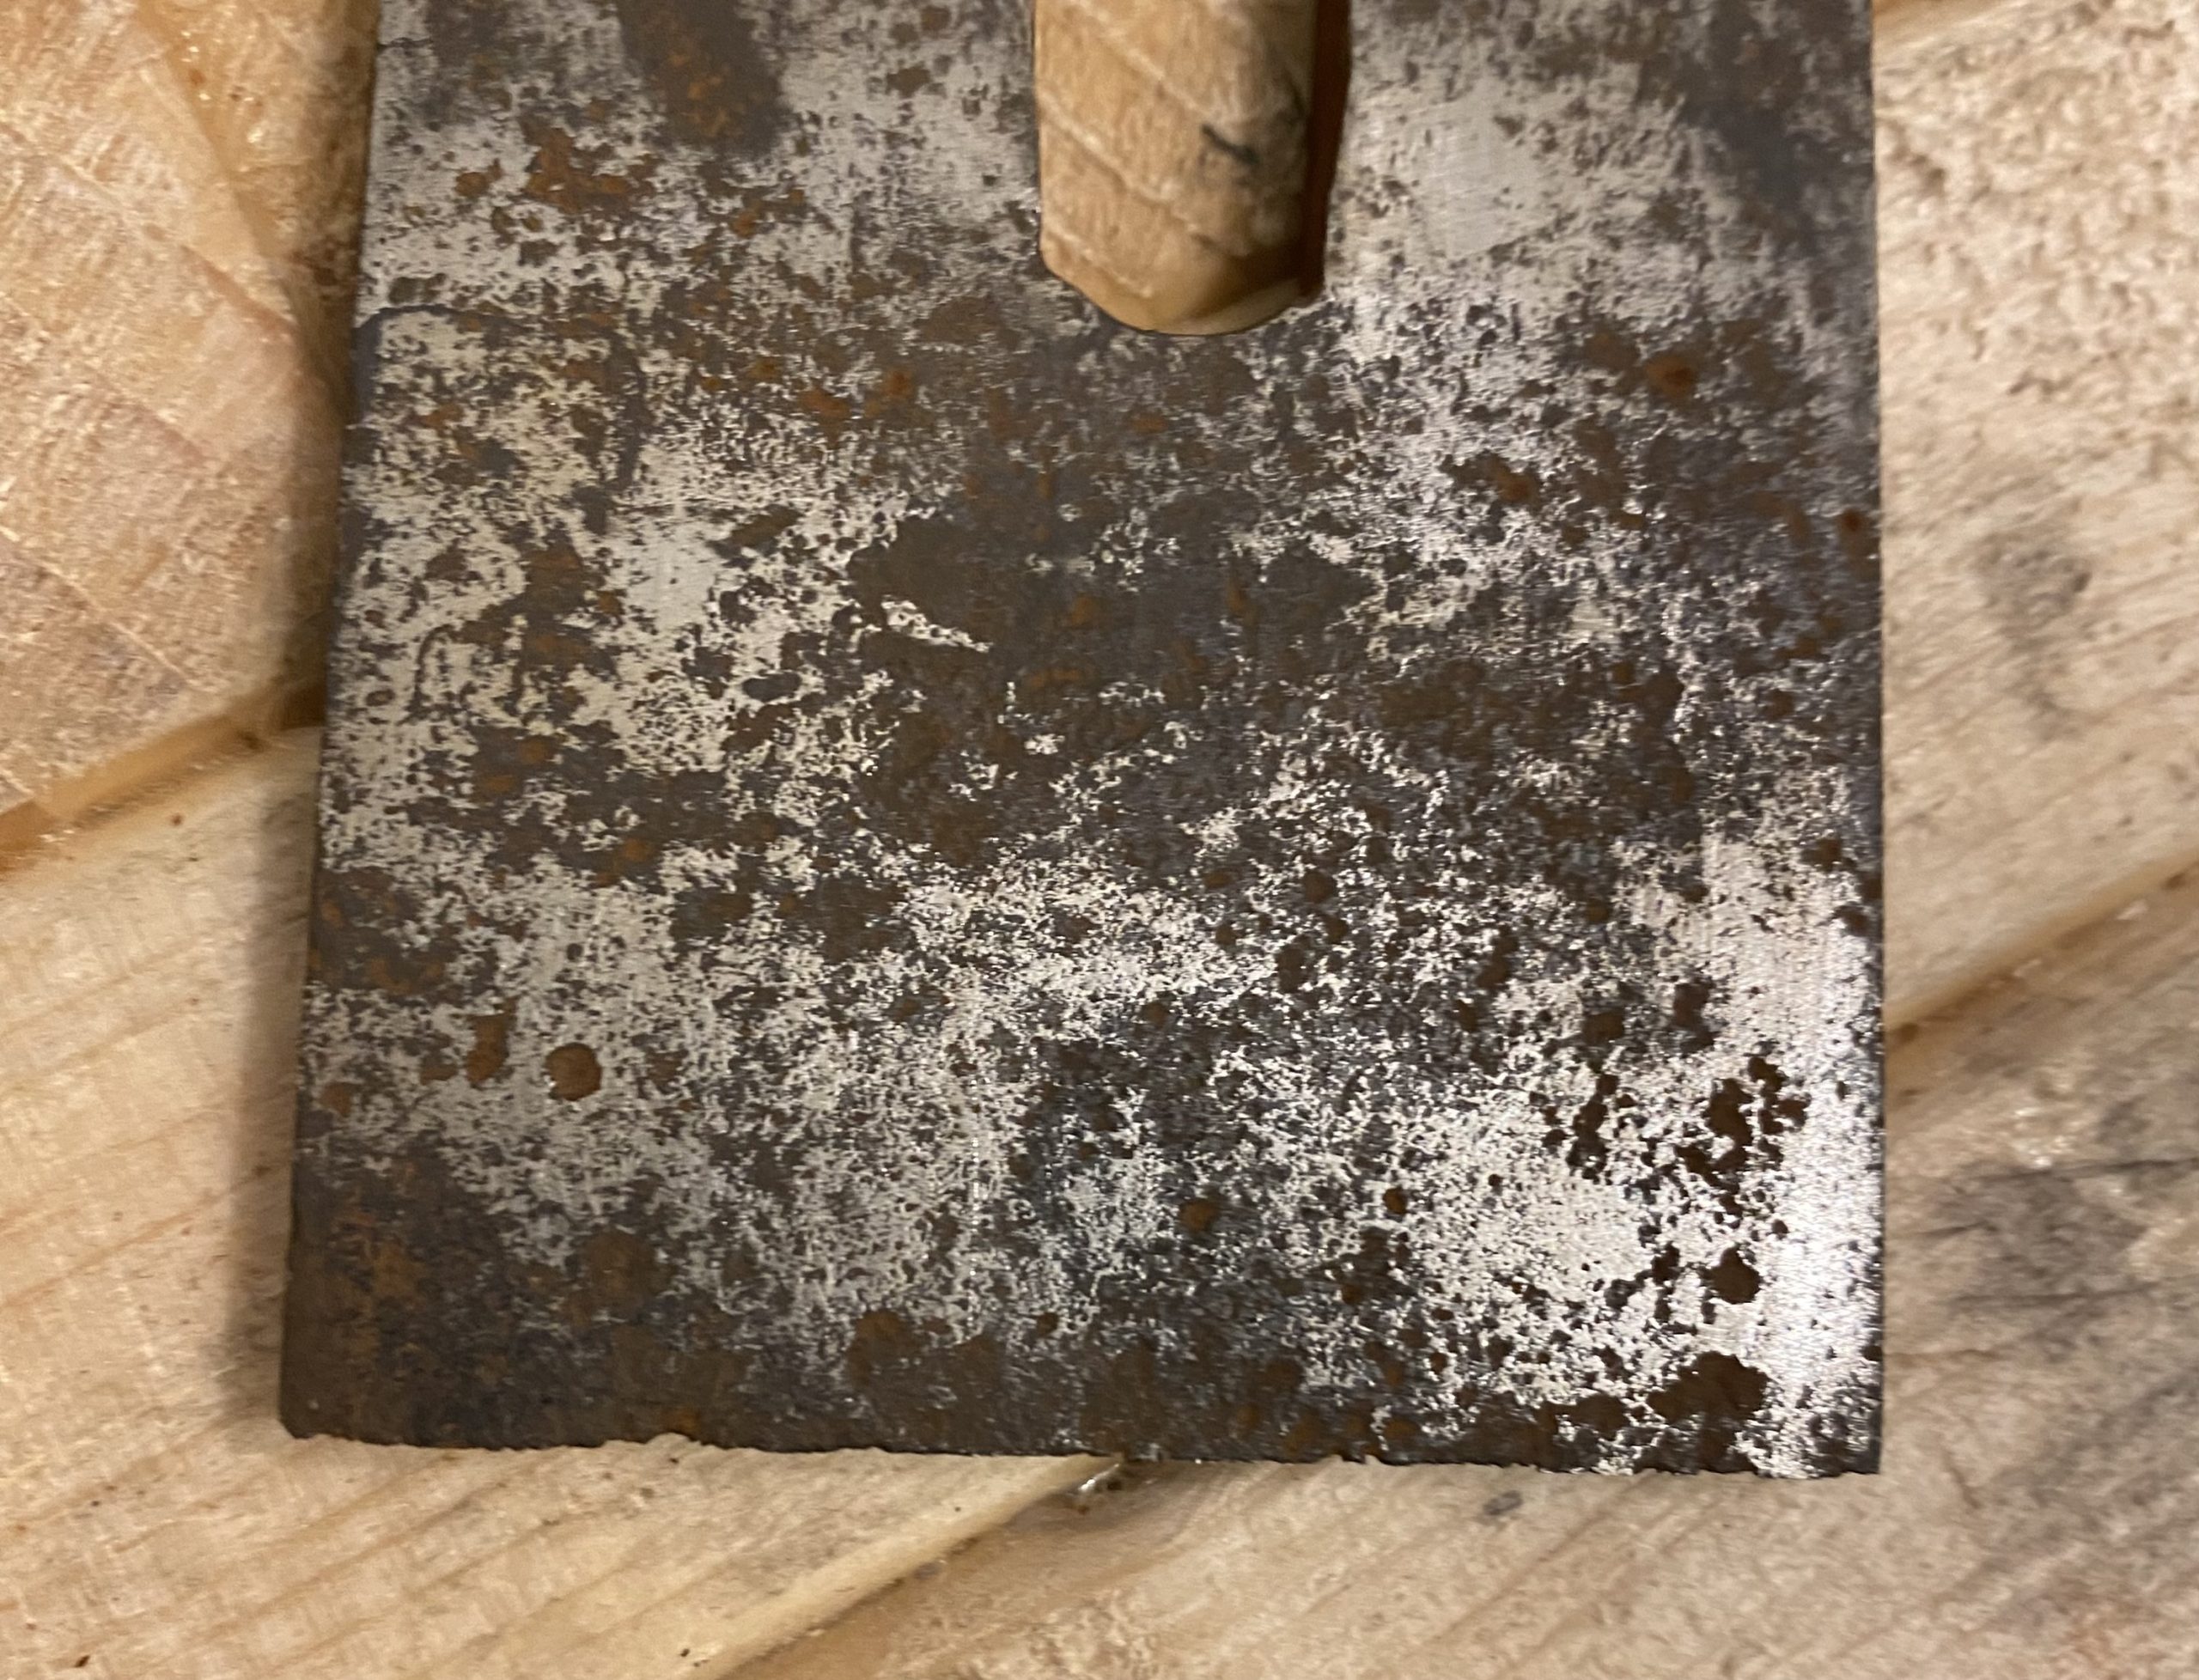
Very pitted plane iron
Below is a before and after of a very pitted plane iron from a smoothing plane, it was worse than it looks. I’d estimate the deepest pitting was over 0.5 mm!
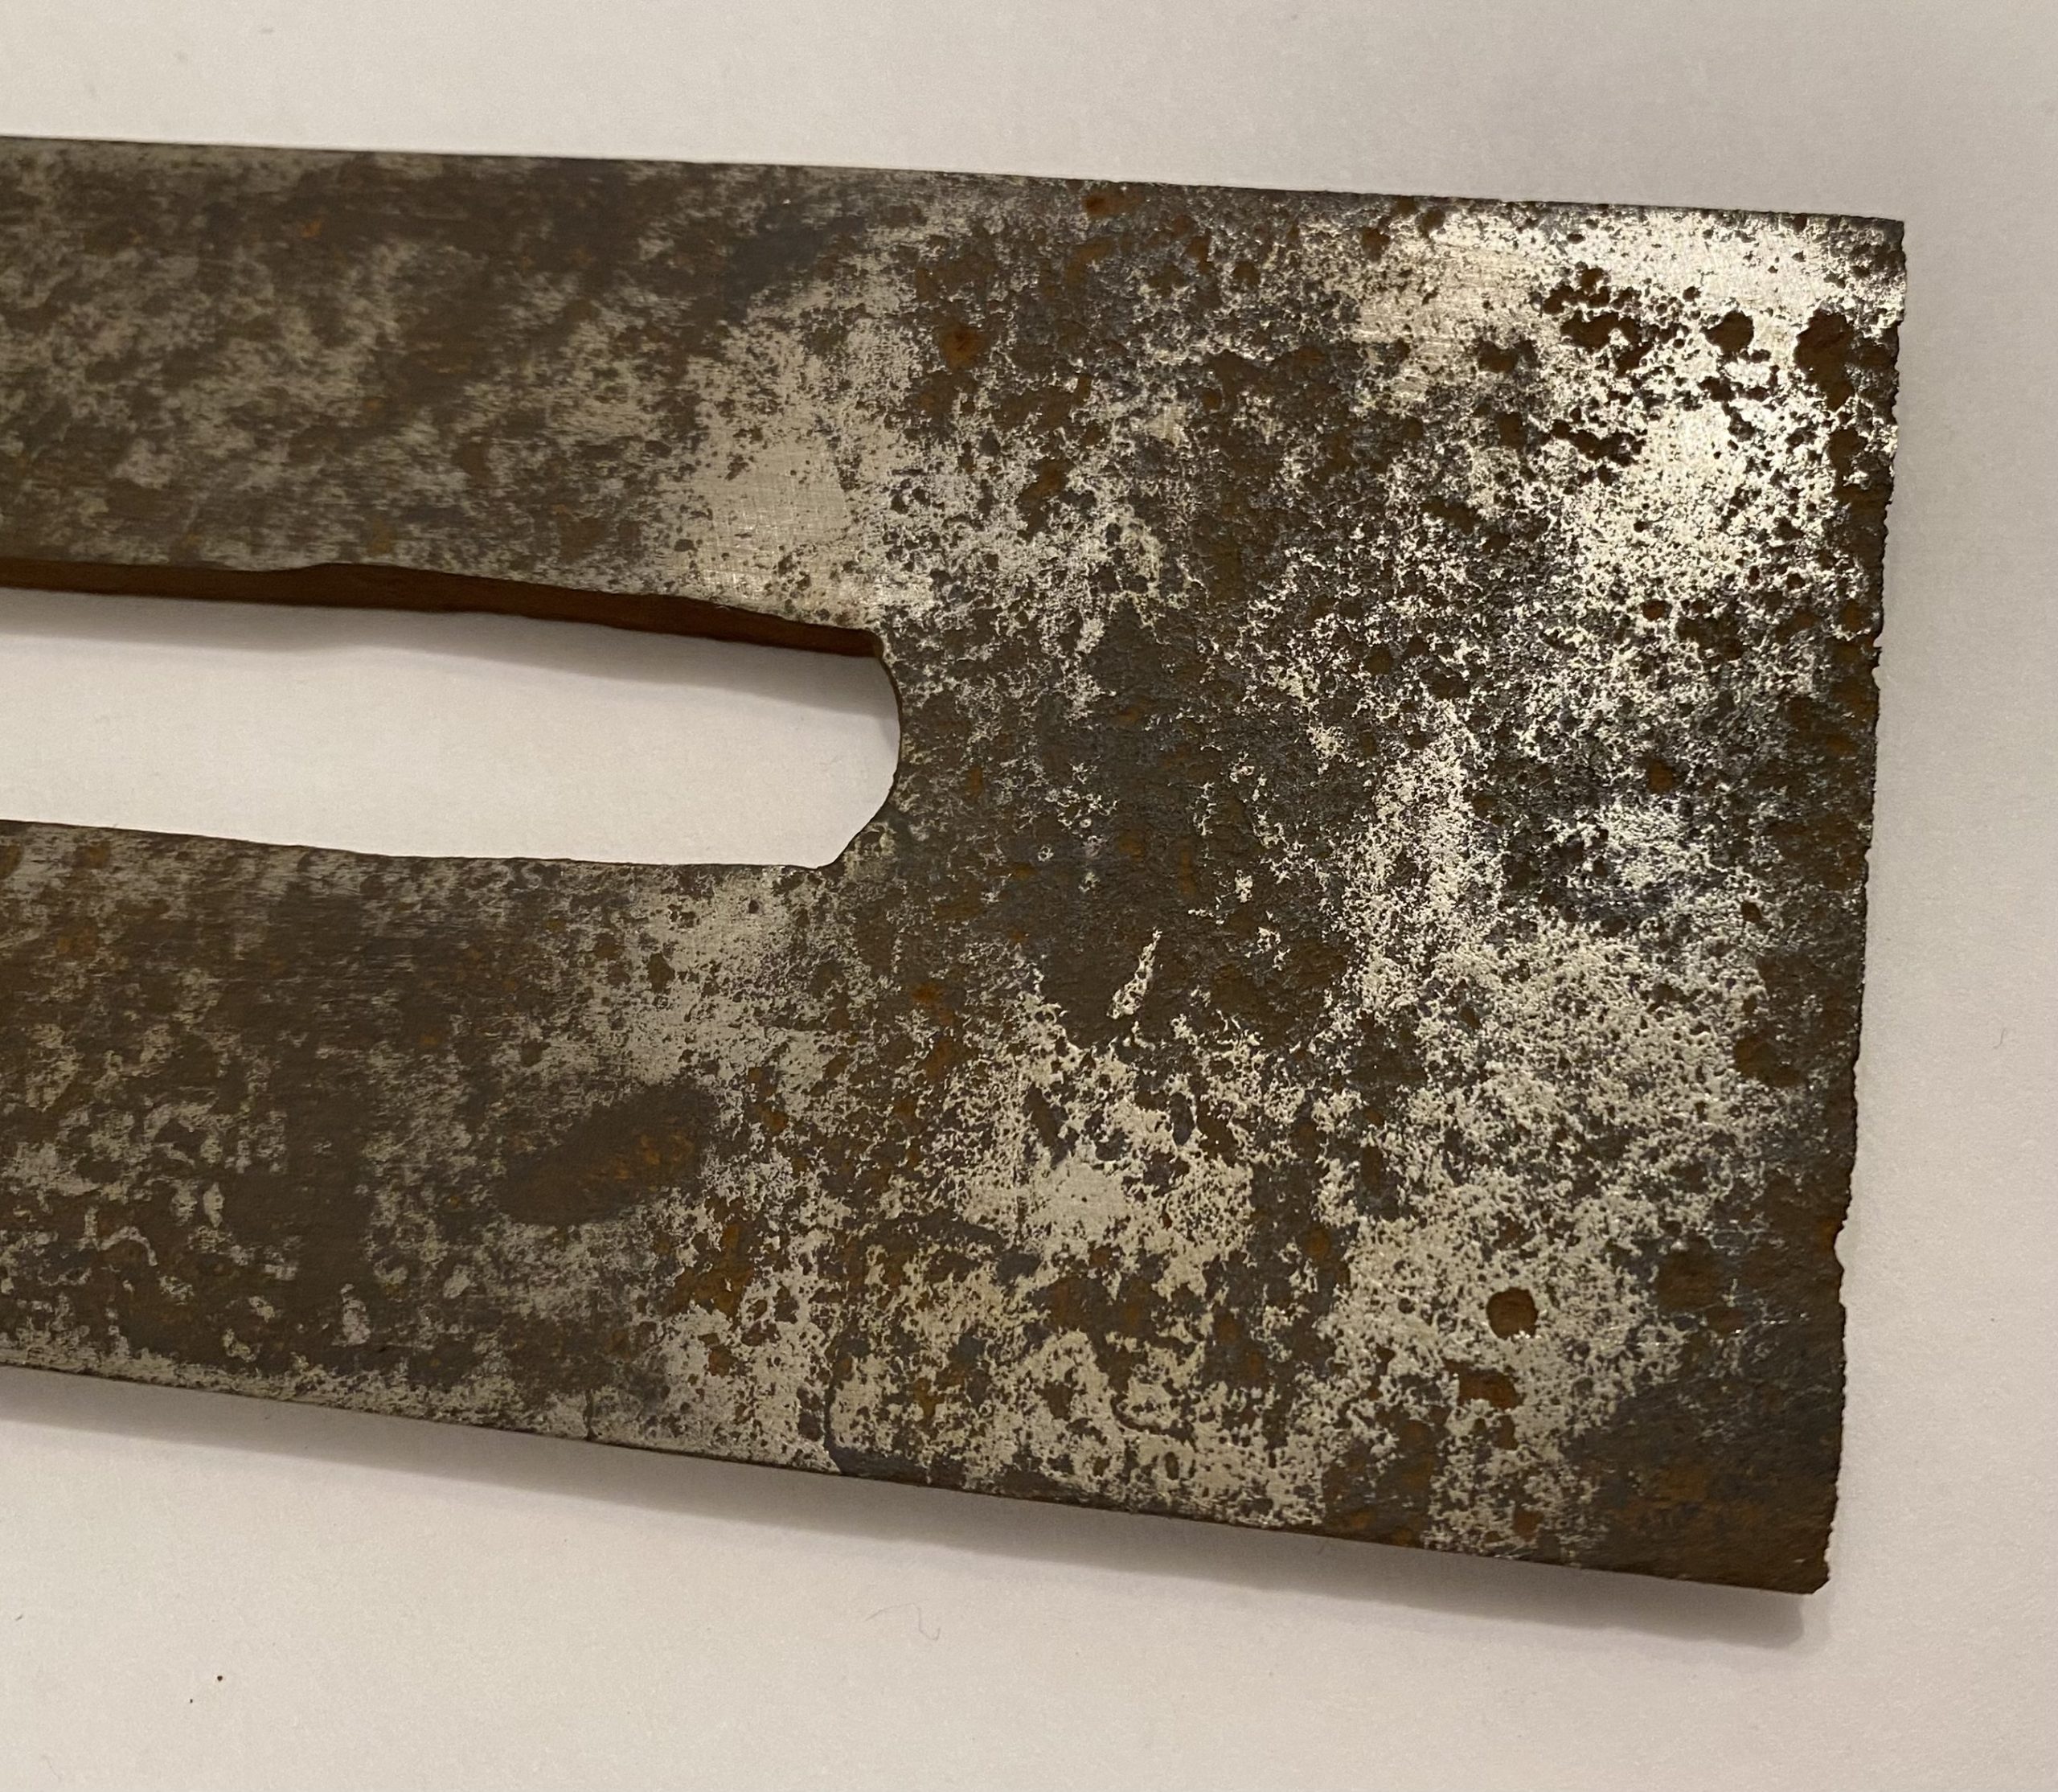
The blade was laminated but luckily it had a very thick lamination of ~2 mm so still plenty left after lapping.
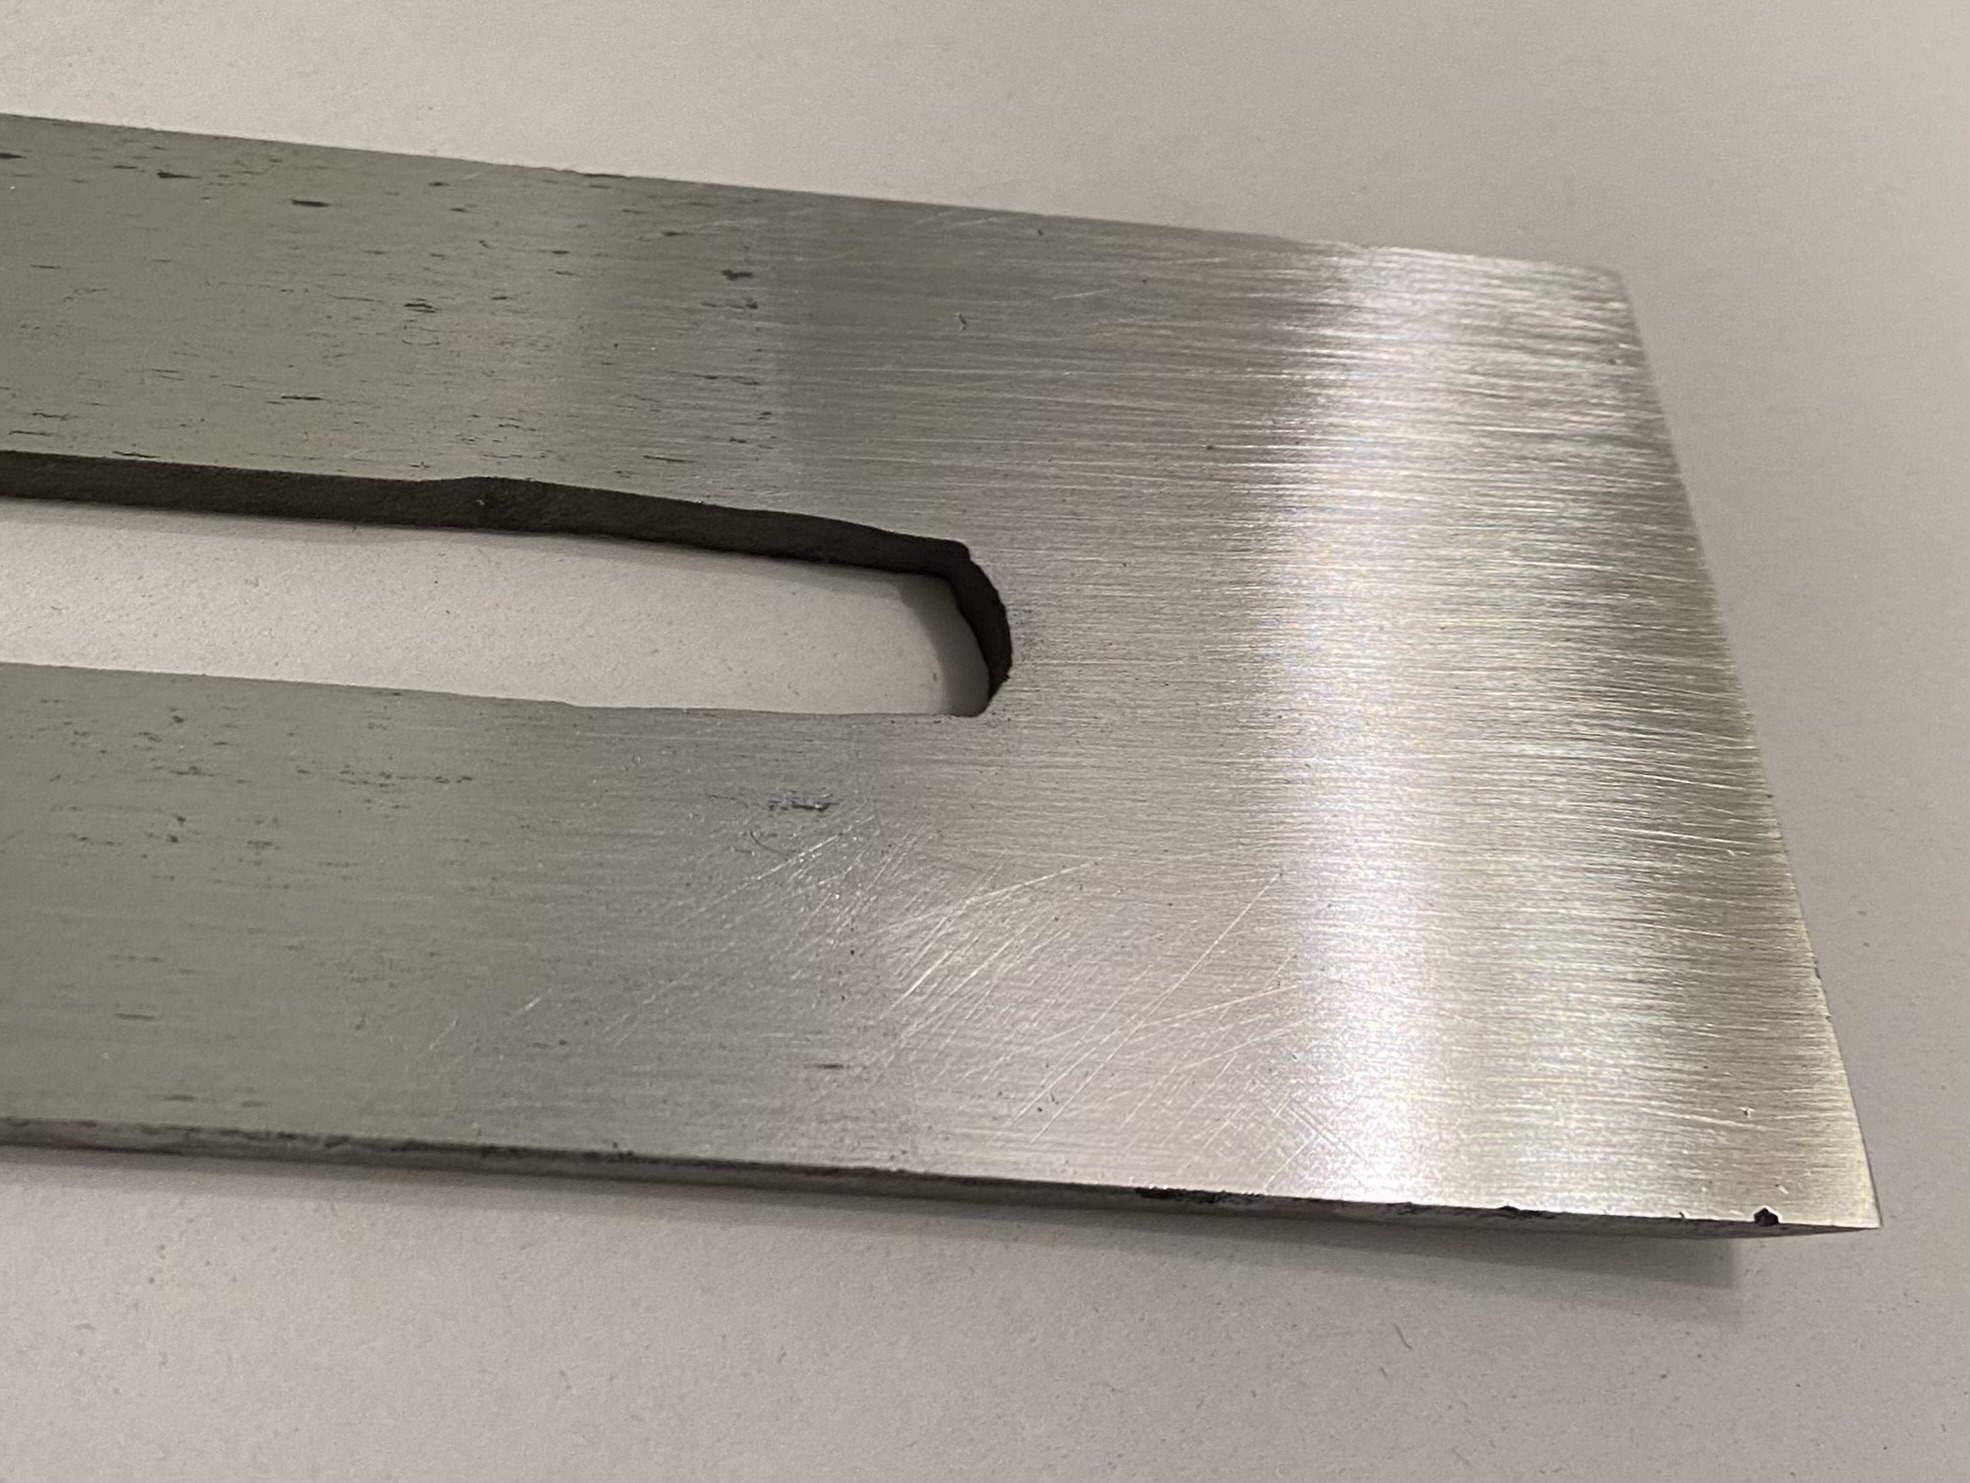
It took around about 2 hours and ~6 metres of 119mm sandpaper to do although I did lap the sole a plane a little too.
Lapping out the pitting dubbed the edges slightly, but it didn’t require too much work on the stones to sort out.
The finished iron works very well. It wouldn’t have been worth it for a cheap iron but, at least to me, this one was worth saving.
Leave a Reply